Electric Longboard
01 Dec 2017 - Mateo Atwi
This is one of my favorite projects. My friend Chris and I jointly developed an electric longboard using a maker grant at the Georgia Tech Invention Studio where we are both prototyping instructors. This longboard had severval innovative design features. Our first design had a lot of flaws, but I attribute this to the extent that we tried to innovate. Our innovations include batteries imbeded into the deck of the longboard and a fiberglass bottom. Additionally, we tried to build most things in house with the motor mounts and the deck.
Skills Learned and Used
- Woodworking
- CAD Design
- Waterjet
- Motors and Speed Controllers
- LiPo Batteries
- Laser Cutting
- Resin Pouring and Fiber Glass Reinforcing
Background
Sometime my second year at Georgia Tech, me and my friend Chris Louie decided to build an electric longboard and make Georgia Tech pay for it. See, we both work as Prototyping Instructors(PIs) for the Invention Studio at Georgia Tech. PIs are not paid; however, they have perks like 24 hour access to the studio and funding for projects. So we decided to jointly work on some projects. It was really fun!
Since we had access to the studio, we decided to make as much as we could. Additionally, we didn’t just want to follow a tutorial, so we decided to add features that you don’t see in most boards. This made the project tougher for us especially since we had a lot of work to do with our classes.
Our Design
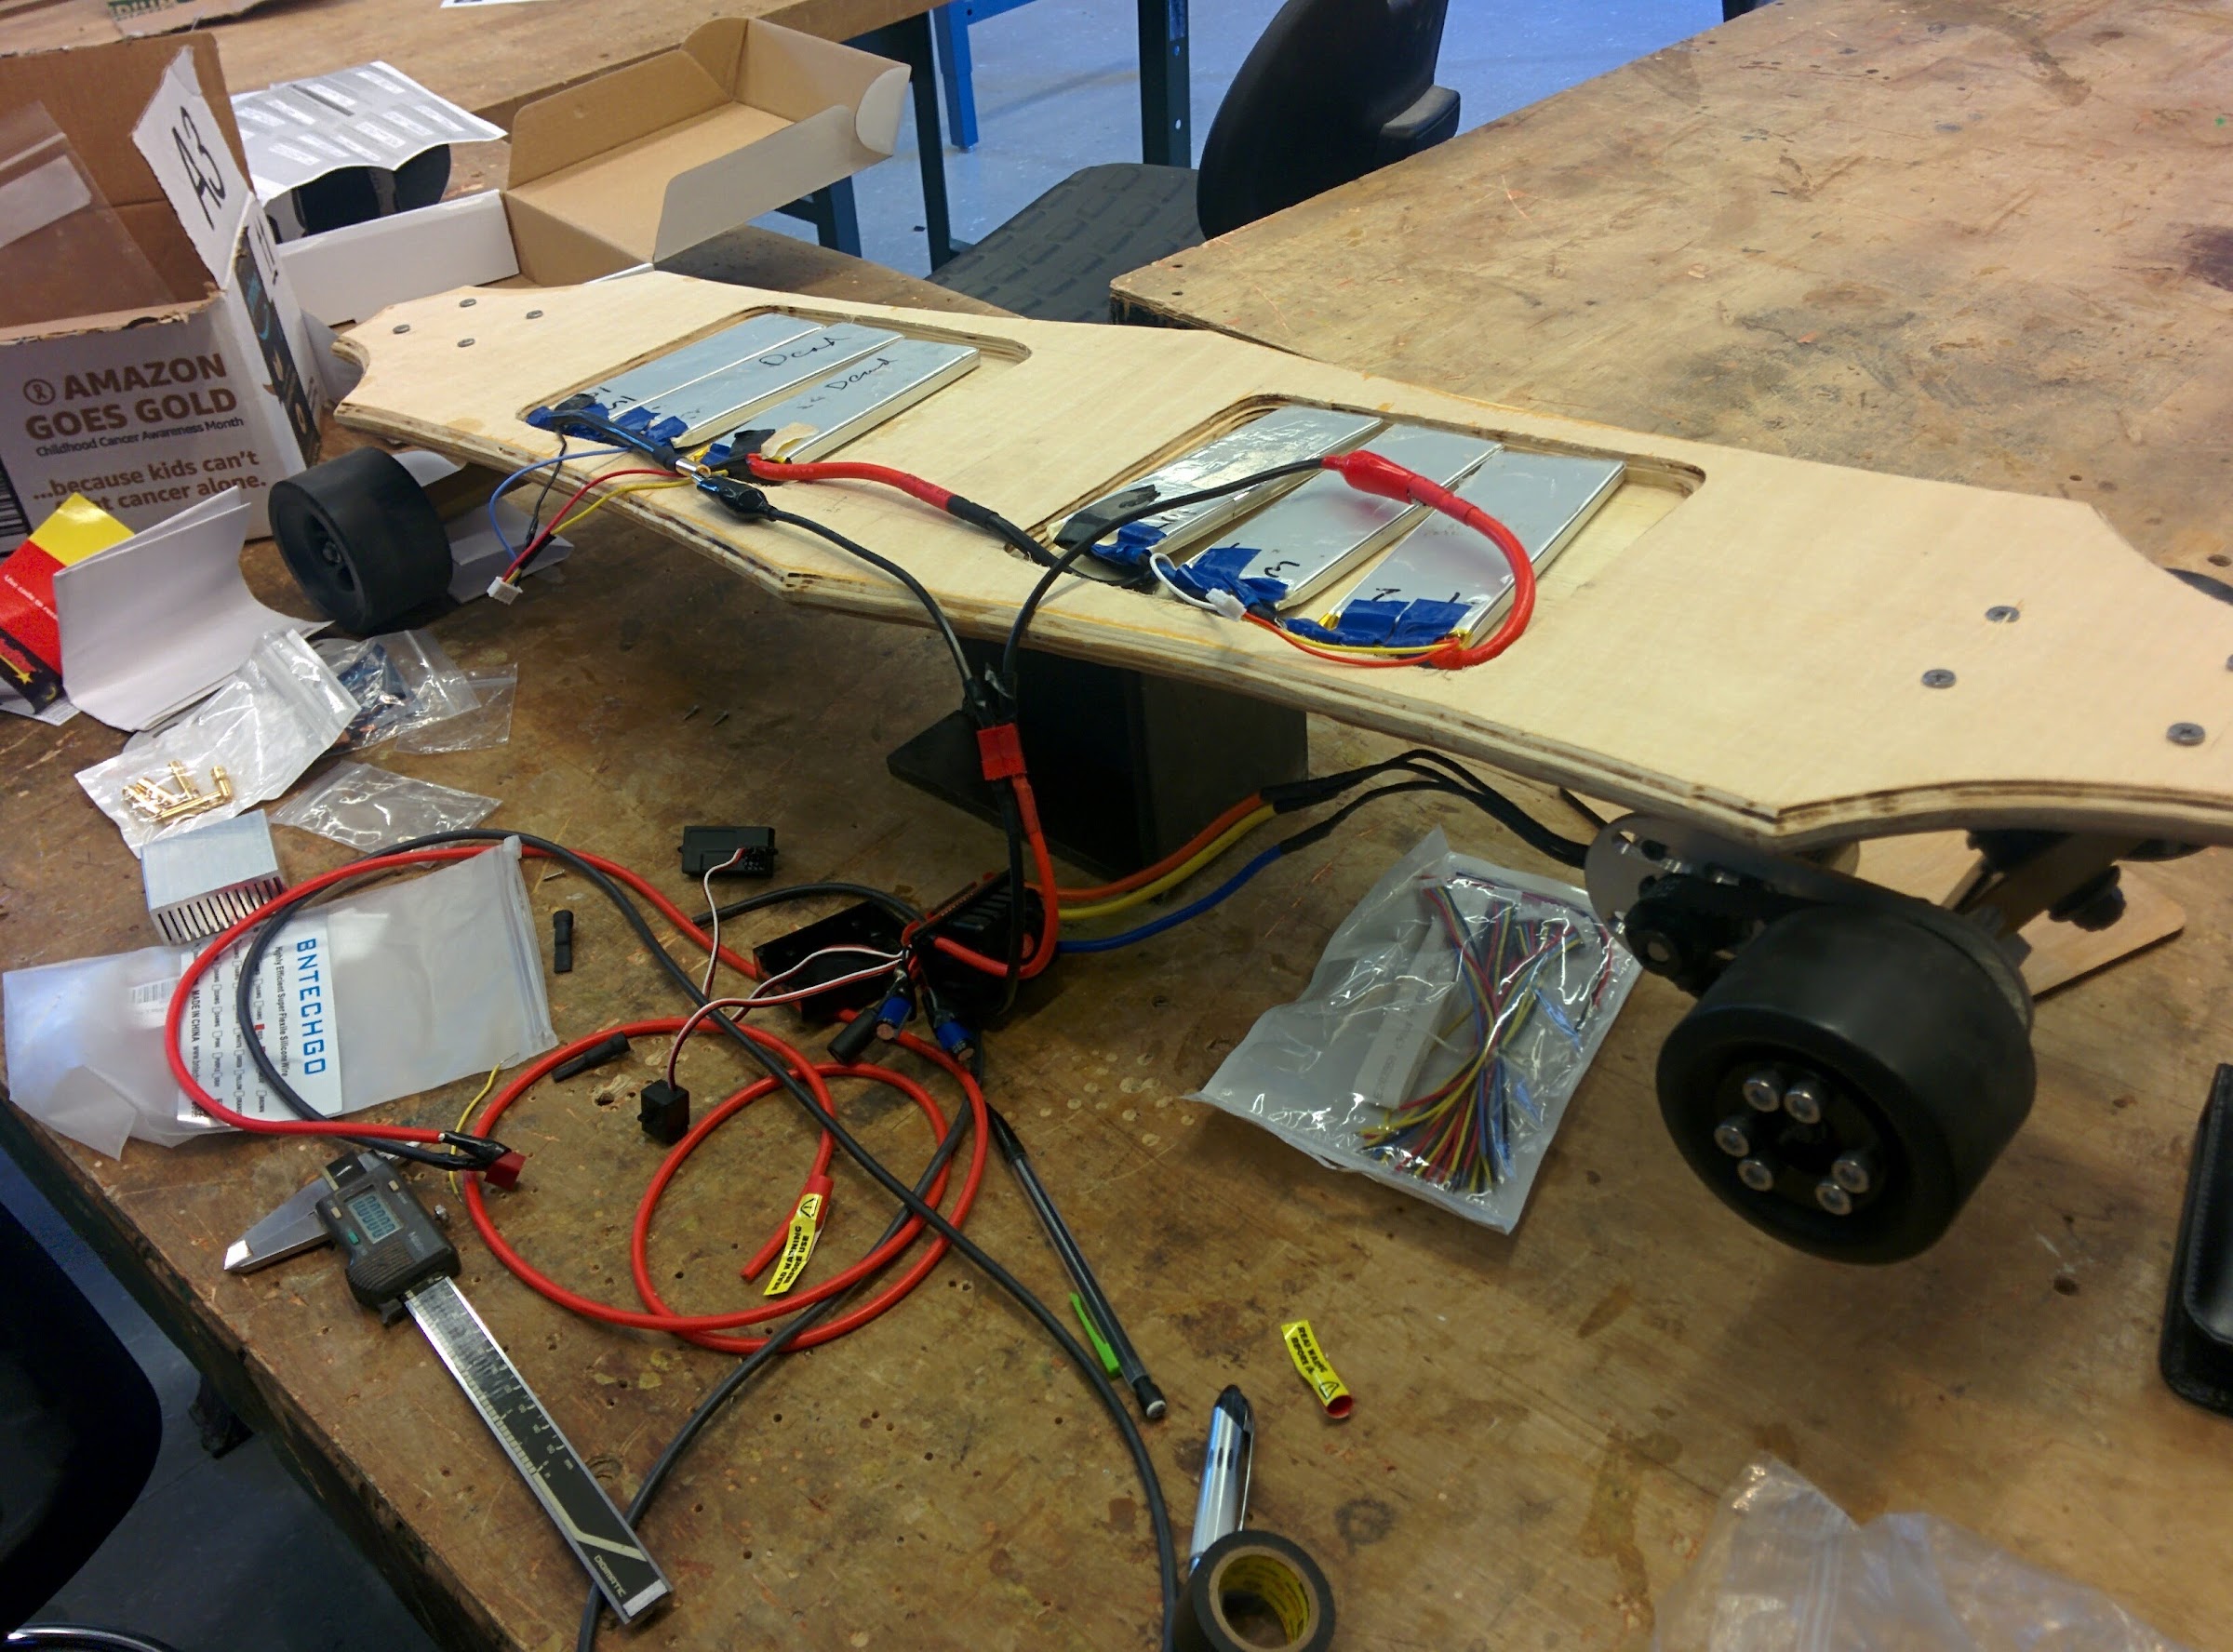
We designed a pretty standard longboard. The biggest difference was that we wanted to embed all of the electronics and battery stuff into the deck itself. This challenge proved harder than we initial thought it would be. Other than that we designed a pretty standard board. We machined custom motor mounting equipment to use.
Electric Longboard Making Process
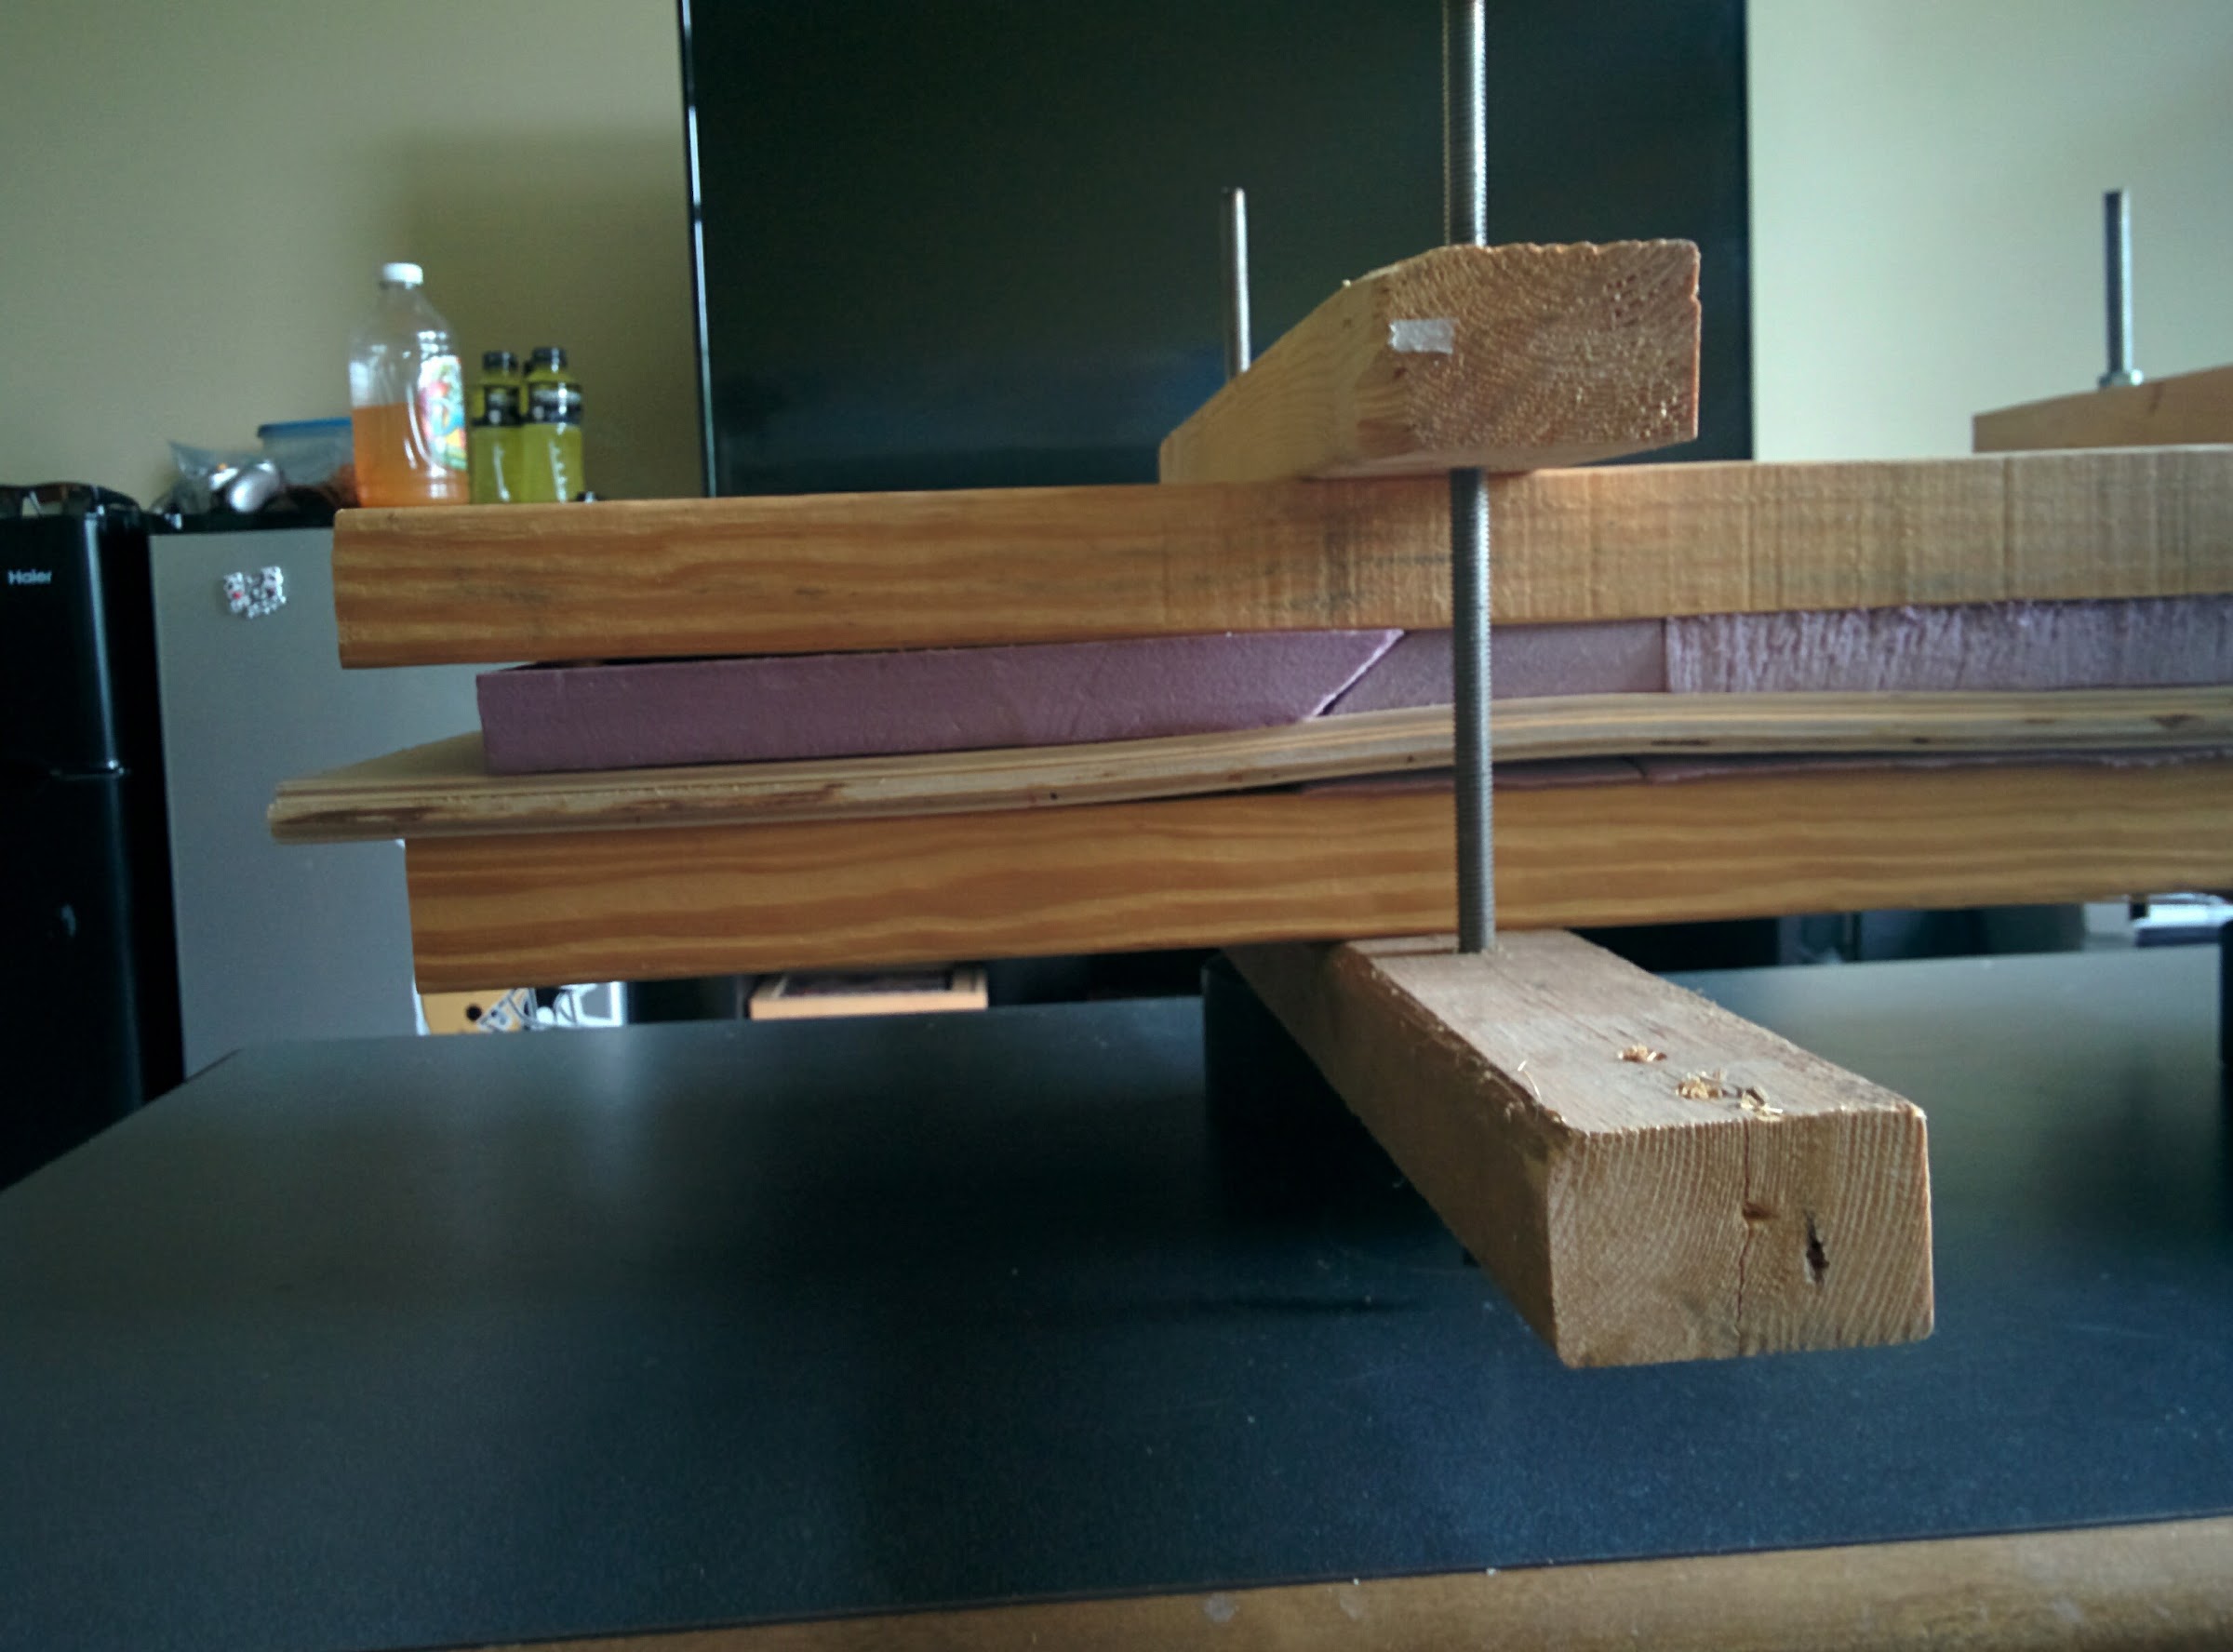
Build Deck
- Wood glue deck layers together
- Press deck while glue is still wet
- Cut out shape of the deck with a circular power saw, make multiple cuts
- Use router to smooth off edges

Motor Mount System
- Waterjet or mill motor mount out of aluminum
- Use drill press or power drill to create additional holes
- Set up wheels and attach motor to deck with wrenches and screwdrivers
Create Electronics Pocket in Board
- Cut out pockets in the deck to fit electronics within the deck using the Router
- Cut out corresponding wood panels to cover the pockets using hand jigsaw
- Screw panels into place
Test then Install Electronics
- Test motors and batteries and speed control system
- Test install batteries and speed control system inside deck
- Solder electrical components
- Test install motor on truckings
Decorate and Strengthen Board
- Fiberglass deck with Epoxy Resin
- Coat bare wood with polyurethane
- Remove electronics and paint deck
- Artistically cut grip tape with Laser Engraver or X-ACTO Knife and apply to deck
Reassemble all components
Lessons Learned
You need to add the hardener to epoxy to get it to harden. I learned that the hard way when I poured the epoxy without adding the hardener. Also, epoxy on your hands sucks. That happened to me frequently. One of the biggest lessons that I learned was that you need to have really good CAD before you can really build things. This means getting the accurate dimensions of things before you can adequately create a model of your entire system. There are two different methodologies here. I and Chris had a tight schedule, so we opted to model, build, and fix our design as we went. It turned out alright, but I defenitely think we could have had a better design from the get go.